
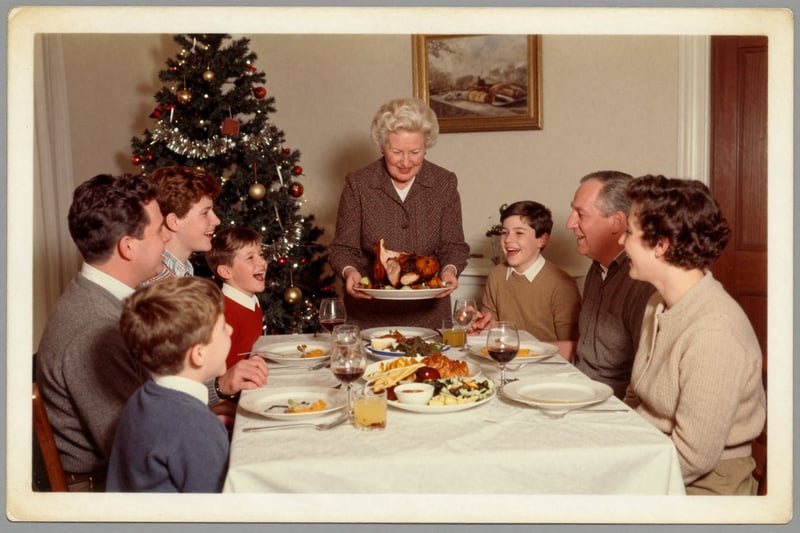
Every restoration begins with a scan, and the scan sets the ceiling. We can mend a tear, lift a stain, bring a face back out of the fade - but no restoration, ours or anyone's, can recover detail the scan never captured. Ten careful minutes at the scanner is the cheapest upgrade a family photo will ever get. Here is exactly how we'd do it.
01 · The hardwareUse a flatbed if you can - your phone if you can't
Any flatbed scanner made in the last fifteen years is good enough, including the one built into a cheap all-in-one printer. Flatbeds win because the print lies dead flat, the light is perfectly even, and there is no lens distortion or glare to fight. If a flatbed is anywhere in the house, use it.
No flatbed? A phone camera used carefully beats a flatbed used carelessly - the method is in section 04. What you should not do is photograph a print casually under ceiling light: the yellow cast, the glare stripe and the keystone skew all become damage the restoration has to work around.
02 · The settings600 DPI, and turn every "improvement" off
- 600 DPI for prints up to 5×7″ - the sweet spot for almost every family photo.
- 300–400 DPI is plenty for 8×10″ and larger prints.
- Save as TIFF or maximum-quality JPEG - never "email size."
- Switch off auto colour-restore, dust removal, descreening and sharpening. One honest pass; let the restoration make the judgement calls later.
Keep the TIFF - that's your archival master, the file every future restoration starts from. When you bring a photo to FixFade, upload a maximum-quality JPG export of it instead: the uploader takes JPG, PNG or HEIC up to 25 MB, which fits any print scan with room to spare, and nothing the restoration needs is lost in the export.
03 · The handlingClean glass, clean hands, no peeling
Wipe the scanner glass with a microfibre cloth first - every speck of dust scans as a white spot on a dark suit. Handle the print by its edges, and if the surface is dusty, puff it with a blower or a soft brush rather than wiping; old emulsion scratches almost on contact.
If a photo is glued into an old "magnetic" album, don't force it. Peeling can take the emulsion - the image itself - off with the page. Scan it right there in the album with the plastic sheet lifted if it lifts, in place if it doesn't. A faint sheen is far easier to repair than a torn face.
04 · The phone methodWindow light, dark background, square-on
- 01Work beside a large window with indirect daylight - never direct sun, never the flash.
- 02Lay the photo flat on a dark, matte background (a charcoal t-shirt works) so the camera meters the print, not the table.
- 03Hold the phone directly above and parallel to the print - turn on the camera grid, and use the level indicator if your camera shows one.
- 04Fill the frame, but keep the entire print visible, white border and all.
- 05Tap the photo to lock focus and exposure. If a glossy print throws a glare stripe, angle it a few degrees toward the window until the stripe slides off.
- 06Take three shots and keep the sharpest. Skip the "enhance" filters entirely.
05 · The blacklistFive ways scans go wrong
- Don't crop the border. The margin carries the paper's true white point and anchors any tears at the edge.
- Don't auto-enhance. Contrast boosts and "magic fix" filters destroy the faint tones a restoration digs detail out of.
- Don't use flash - it burns a hot spot into the exact centre of the memory.
- Don't scan through removable plastic. If the sleeve slides off easily, take it off. (If it's stuck, leave it - see section 03.)
- Don't sharpen. Sharpening halos are far harder to undo than softness.
Scan the whole print, border and all. The border is where a restoration learns what the paper's true white was.
06 · The payoffWhat a good scan buys you
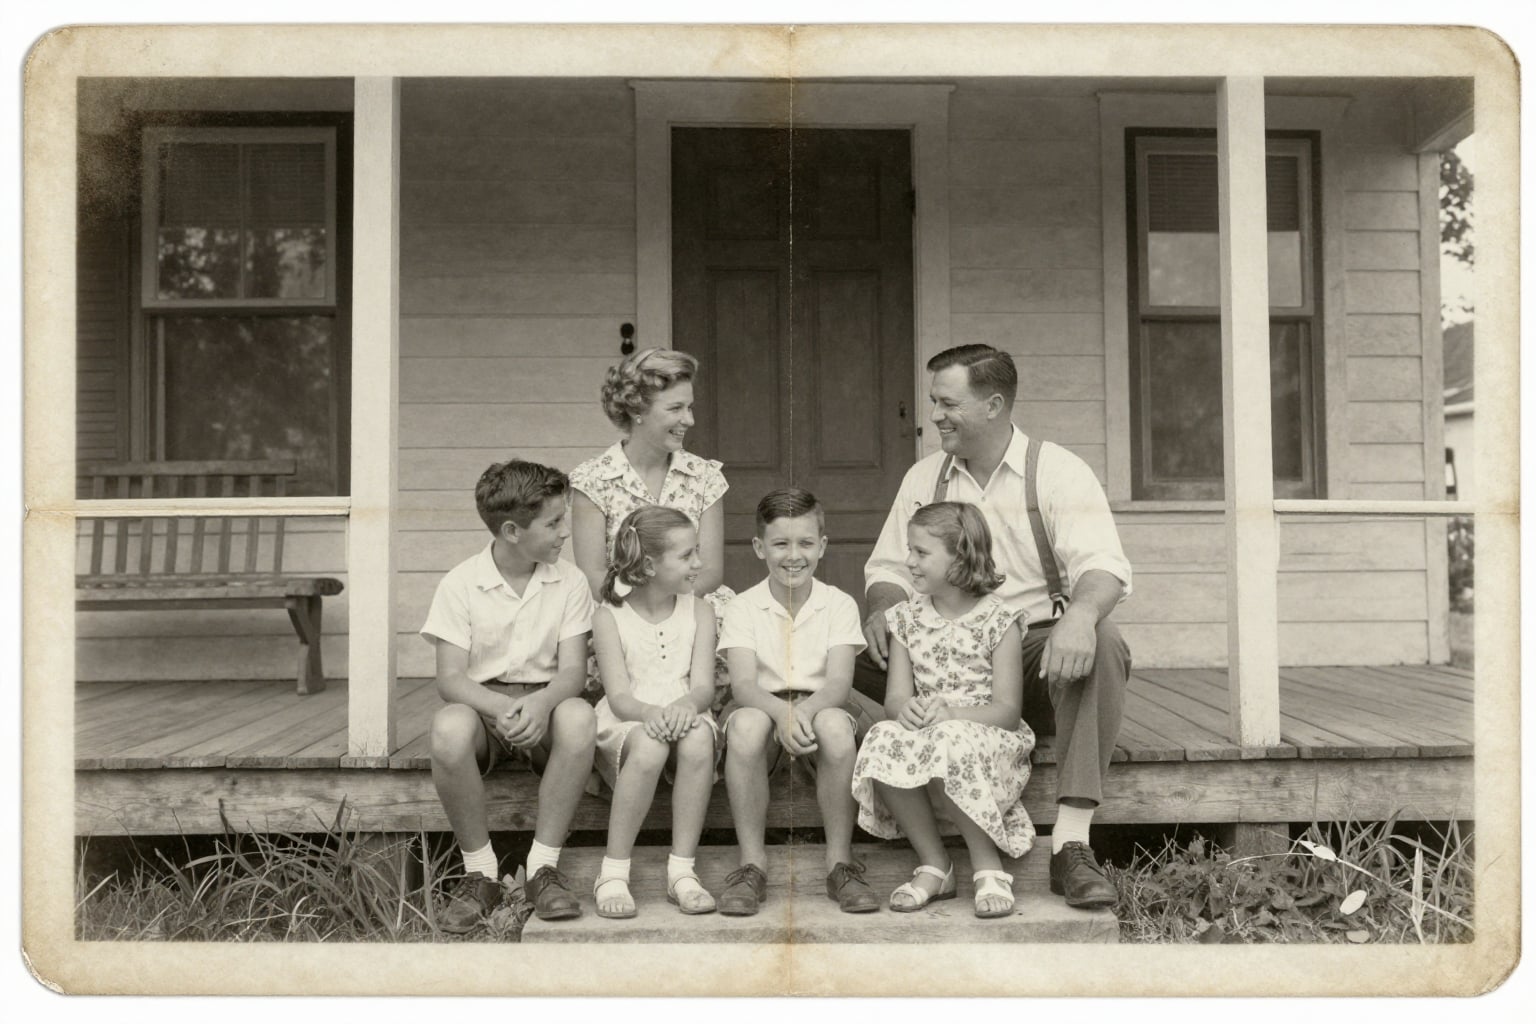
The pair below started as a creased, faded 1950s porch photo scanned on a $70 flatbed at 600 DPI. Because the scan held every faint tone, the restoration had real information to work with - no detail invented, everything recovered.

Two last habits: name the files while you still remember who's in them (1954_porch_grandma_ruth.jpg beats IMG_2047 forever), and keep the scans in two places - one cloud, one drive. The originals go back in an acid-free box, out of the sun.
Then, when you're ready, upload a scan - you get 2 free restorations a day, so you can test your scanning setup on the photo that matters least before you trust it with the one that matters most.