
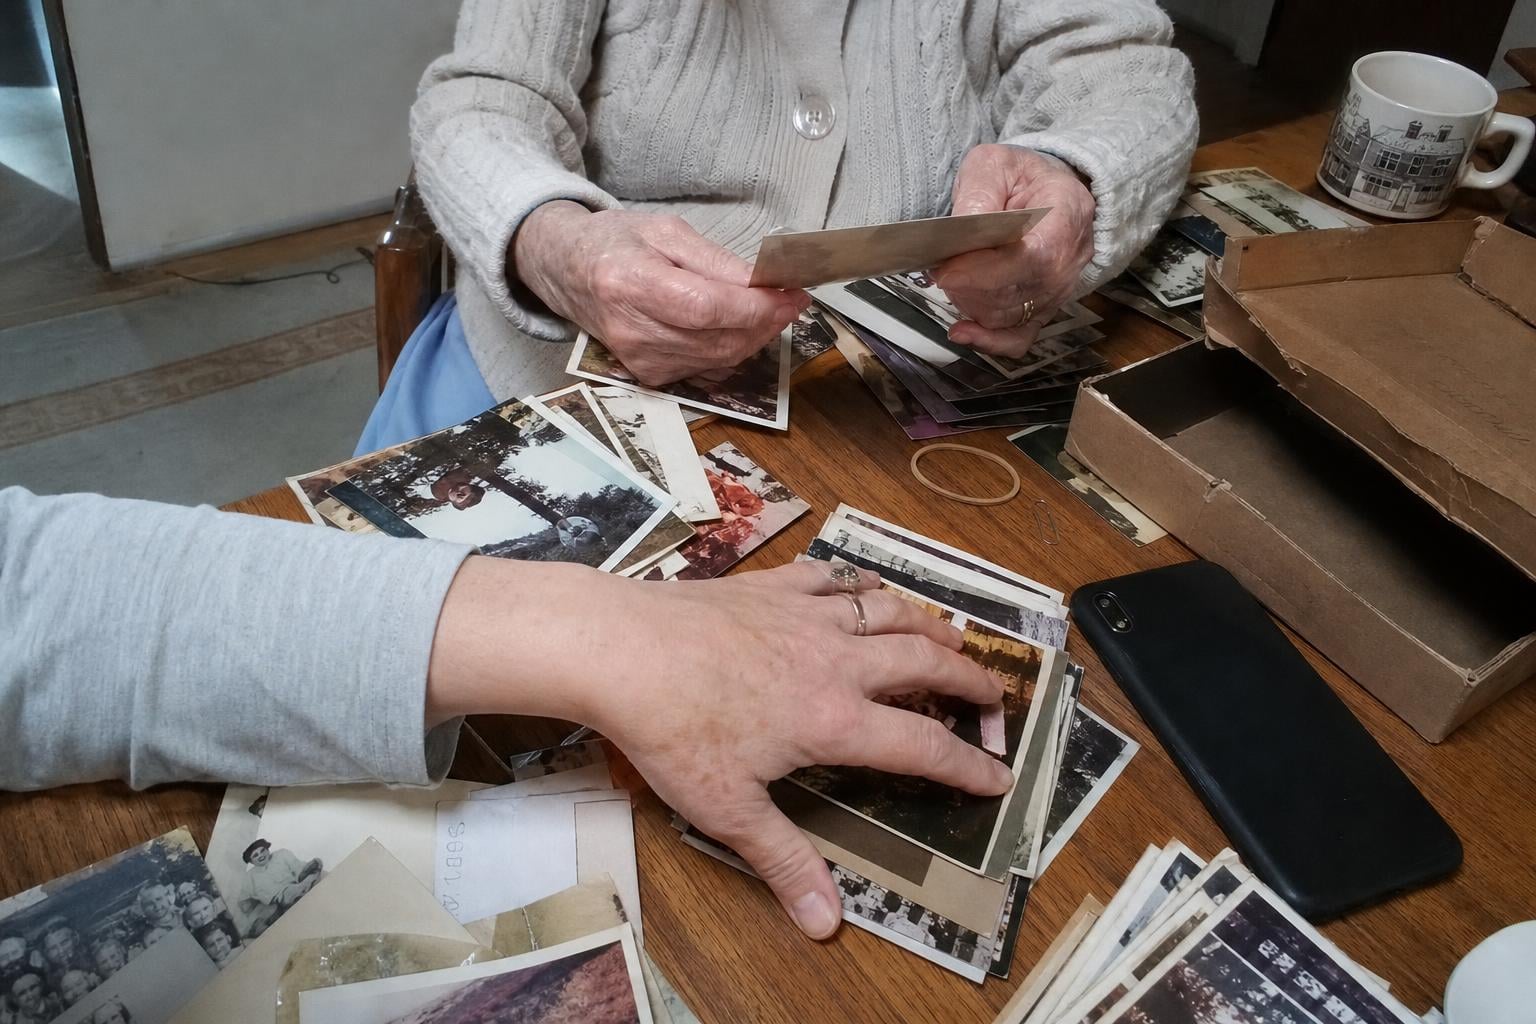
One print at a time is how photos come to this desk: a mother at the kitchen sink in 1962, a serviceman the week before he shipped out. Here is how we'd restore a photo like that without making anything worse. Four steps, one afternoon.
01 · The methodHow to restore old photos in four steps
- 01Scan the print well. 600 DPI on any flatbed, or the phone method by a window. The scan sets the ceiling for everything after.
- 02Run the restoration. Upload the scan, wait about a minute, and see what comes back.
- 03Check the face against the original. You are the judge. Ask one question: is it still them?
- 04Save both versions, then print one. A photo on the wall gets looked at. A file in a folder waits.
02 · Step oneScan it: the scan sets the ceiling
No restoration can recover detail the scan never captured. Ten careful minutes here is the cheapest upgrade the photo will ever get.
- Any flatbed scanner, 600 DPI, saved as a maximum-quality JPEG or TIFF. Never "email size."
- Every "auto-improve" setting off: no auto color, no dust removal, no sharpening. One straight pass.
- Scan the full print, border and all: the margin shows the paper's true white.
- No scanner? Use the phone: indirect window light, print flat on a dark background, camera directly above and parallel, no flash. Three shots, keep the sharpest.
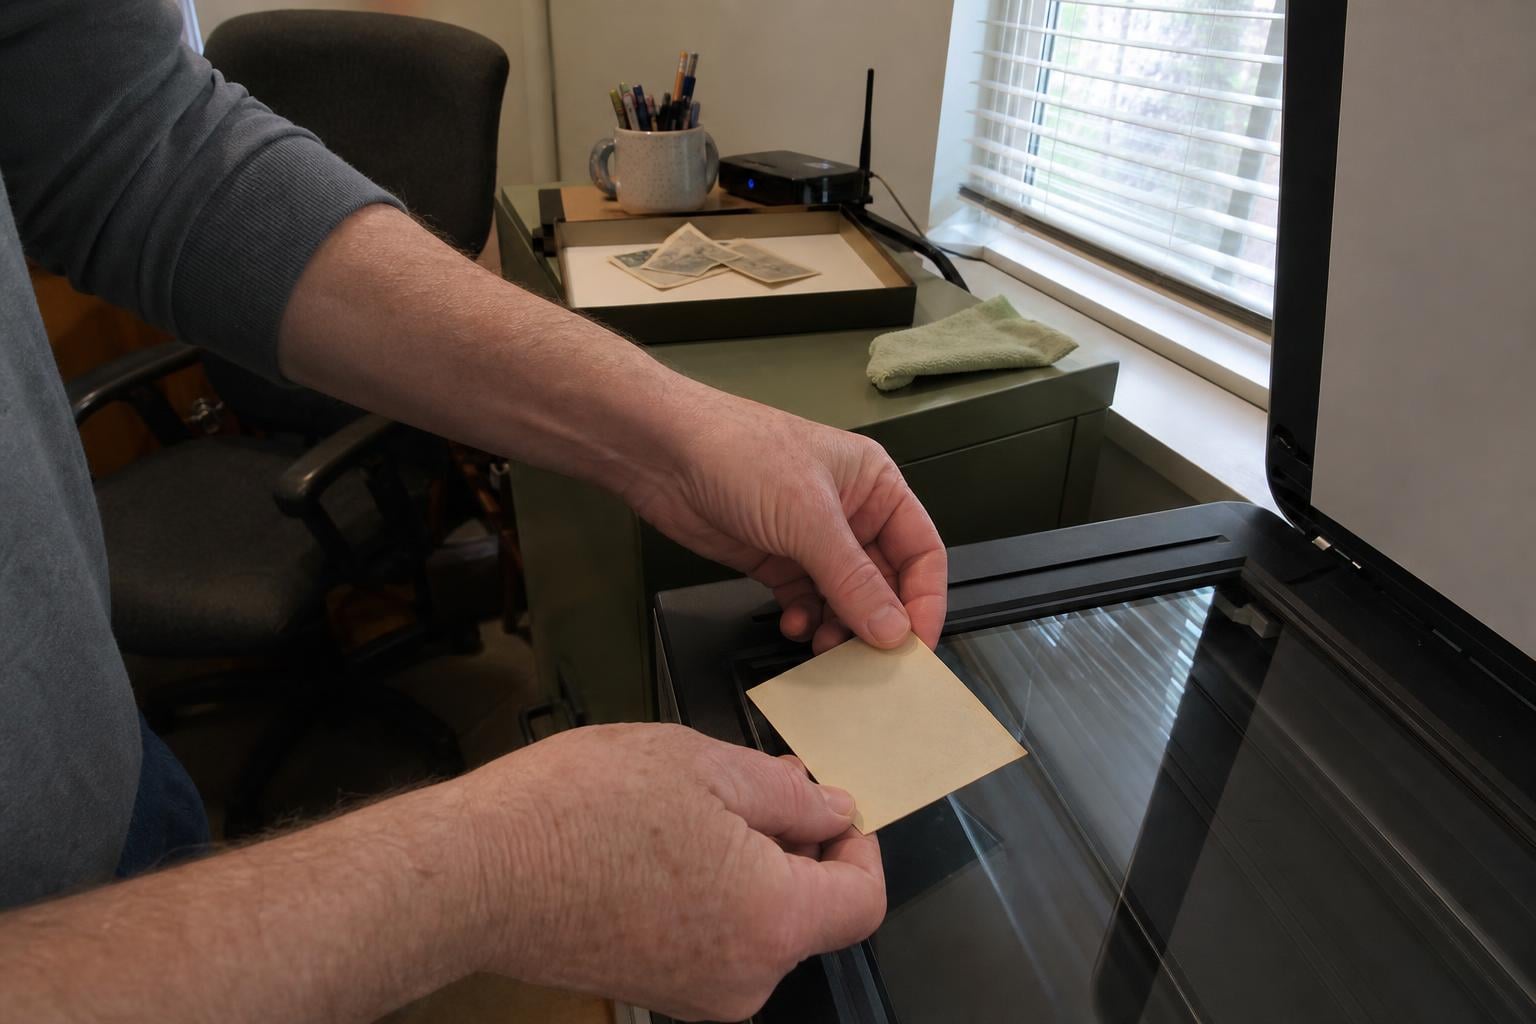
Two handling rules outrank everything: don't peel a print out of a stuck album (scan it in place instead), and hold prints by their edges, because old emulsion scratches almost on contact. Full settings and the phone technique are in our guide to scanning old photos at home.
03 · Step twoRestore it: about a minute of waiting
Bring the scan to the restore page and upload it: JPG, PNG or HEIC, up to 25 MB. The model works for about a minute, mending tears and creases, lifting stains, clearing the yellow cast, and bringing faces back out of the fade.
Your photos stay private and your original file is never altered: the upload is used for the restoration you asked for and nothing else, nobody trains a model on it, and one email to us deletes everything. The plain-words version is in our privacy note.
You get 2 free restorations a day, no card needed. A free result is a watermarked preview from the standard model: enough to judge the repair before you spend anything. A credit run finishes in Archival HD with no watermark. Test it on a photo you can risk, then bring the one you came here for.
What tends to come back, and what doesn't:
- Fading and color shift come back reliably. The image is thinned, not gone.
- Stains, tide lines and foxing usually sit over the image rather than in it. Lifting them off is routine.
- Creases, tears and scratches repair well when the surrounding detail survives: the model extends what is there across the break.
- Blur and small faces are the gamble. Sometimes sharpening finds the person; sometimes there isn't enough information, and forcing it invents one.
Where the emulsion has physically flaked away, there is nothing underneath to recover. A missing face is different from a torn sleeve: with nothing left to read, the model would be inventing a person, and we would rather tell you that plainly than pretend otherwise.
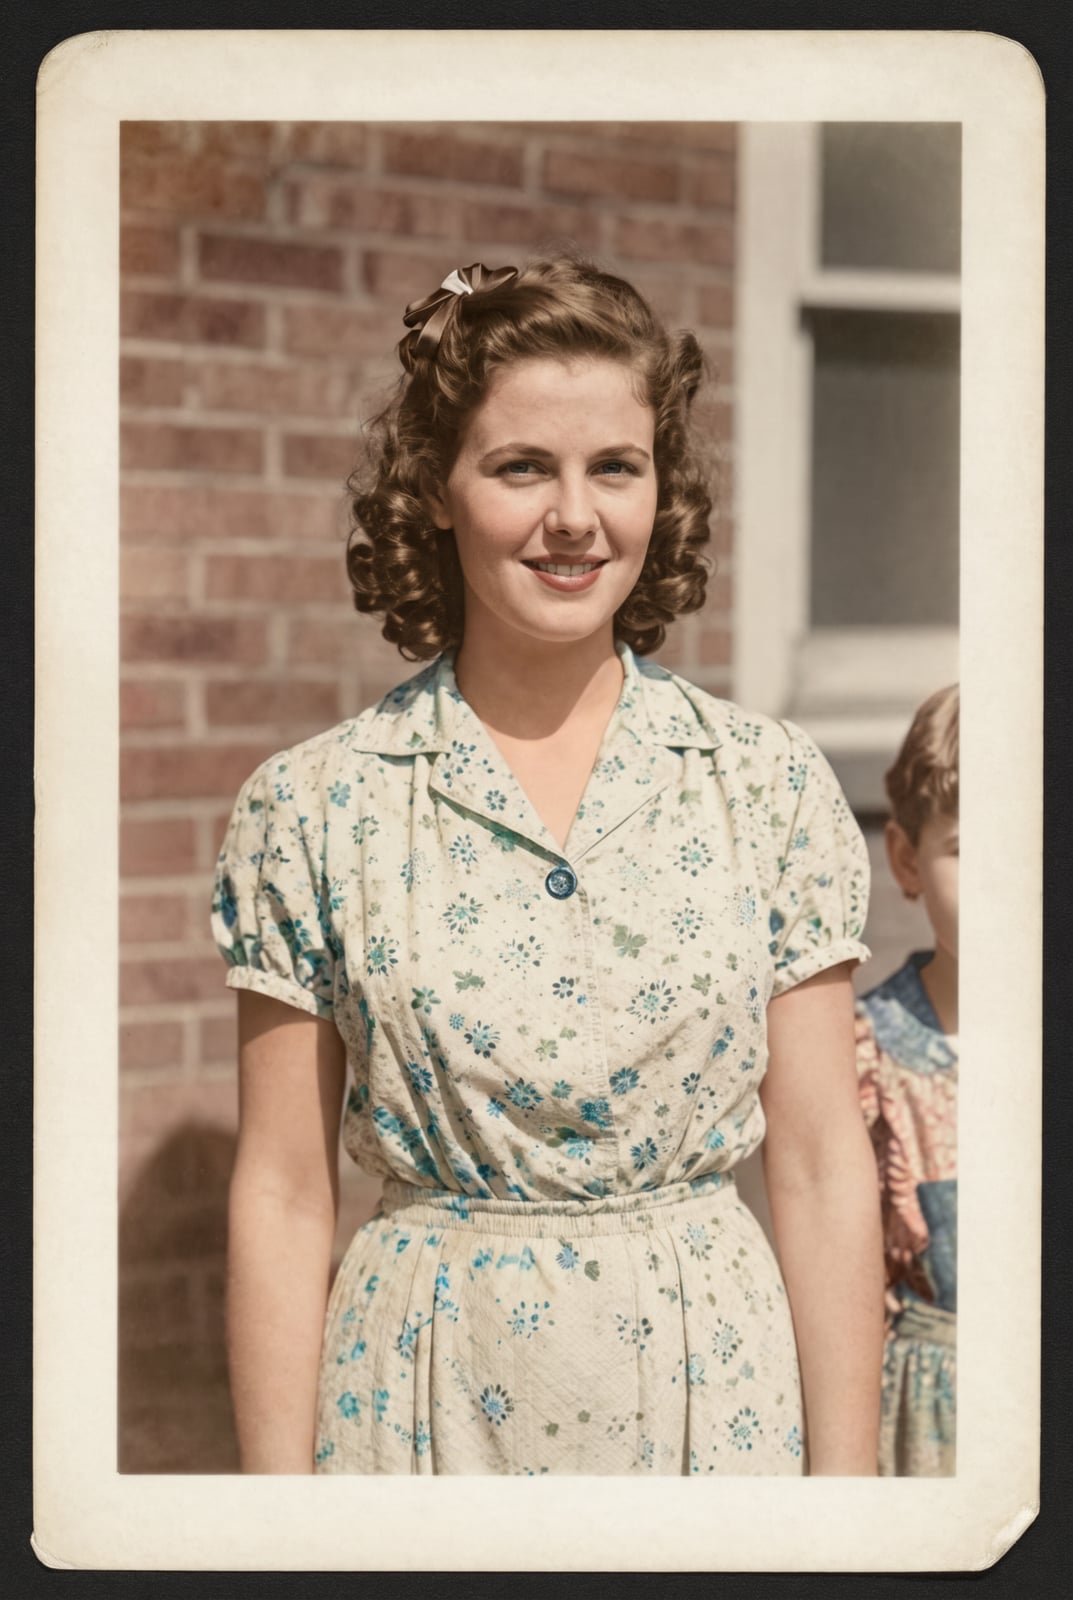
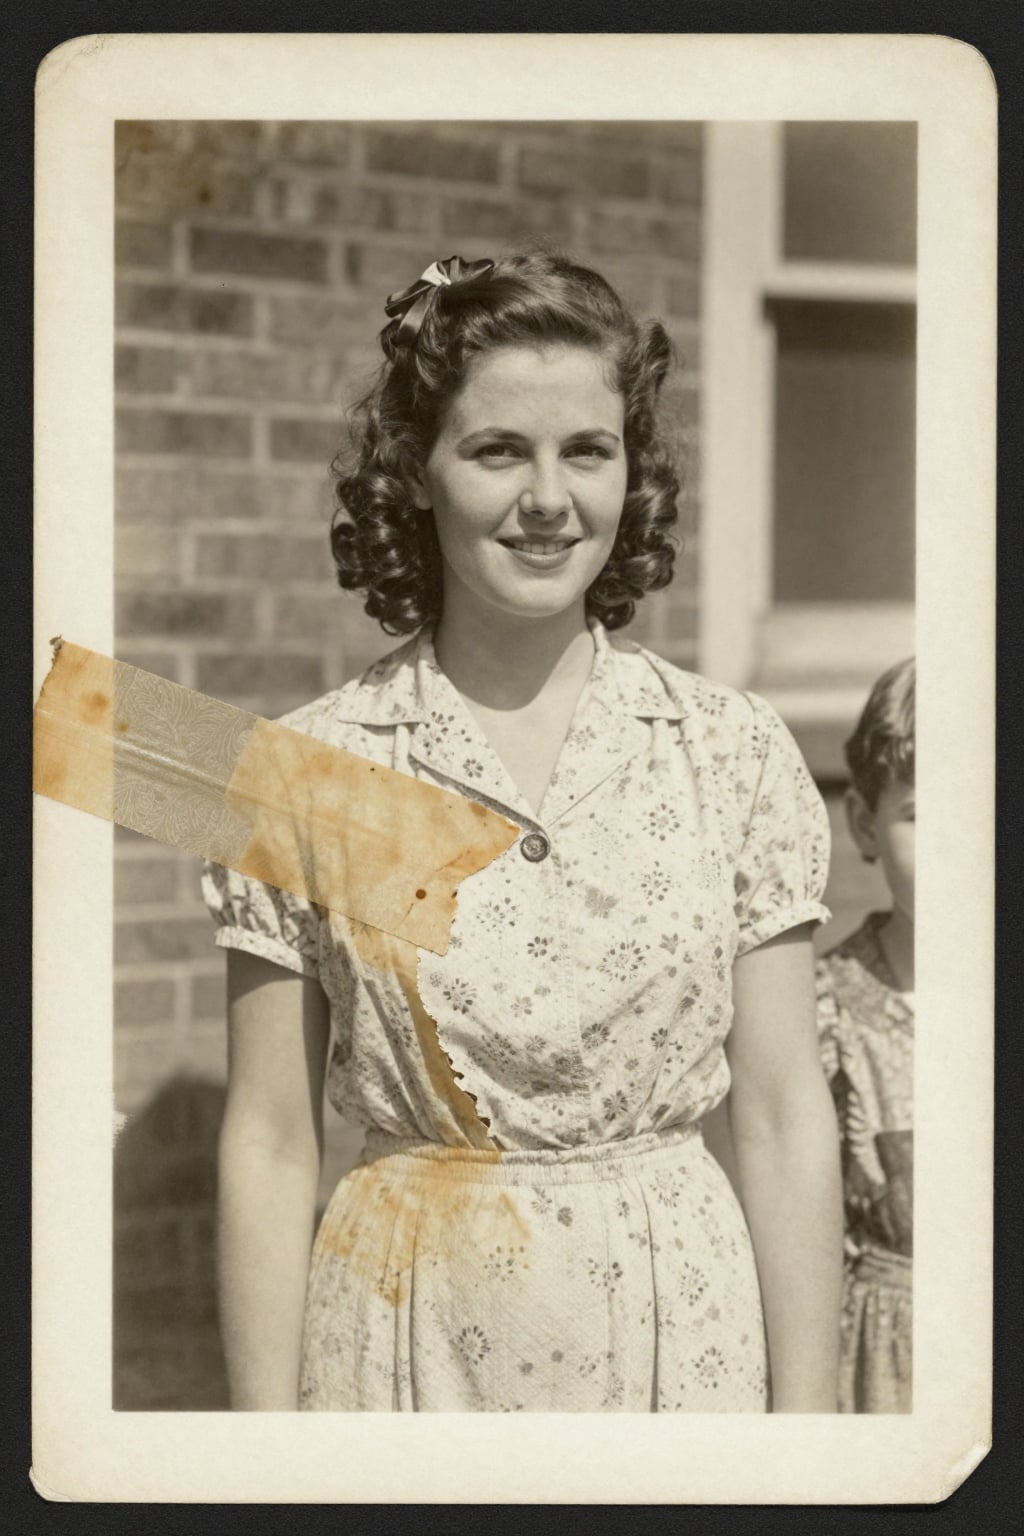
Drag the round handle to compare: the original is left of the seam, the repair is right.
04 · Step threeCheck the face. Slowly.
A restoration model makes judgment calls, and on the photo you care about, a call can miss. The riskiest ground is the smallest face in a group photo, where the model may have only a few hundred pixels to work from.
So put the restored version beside the original and look slowly: the eyes first, then the mouth, then the small things only your family would notice. You remember the face; the software only measured it.
The common signs of a drifted restoration: skin gone porcelain-smooth, a squint opened into round eyes, teeth appearing behind a closed smile, a birthmark tidied away. All of them are exactly the kind of thing a stranger would never catch.
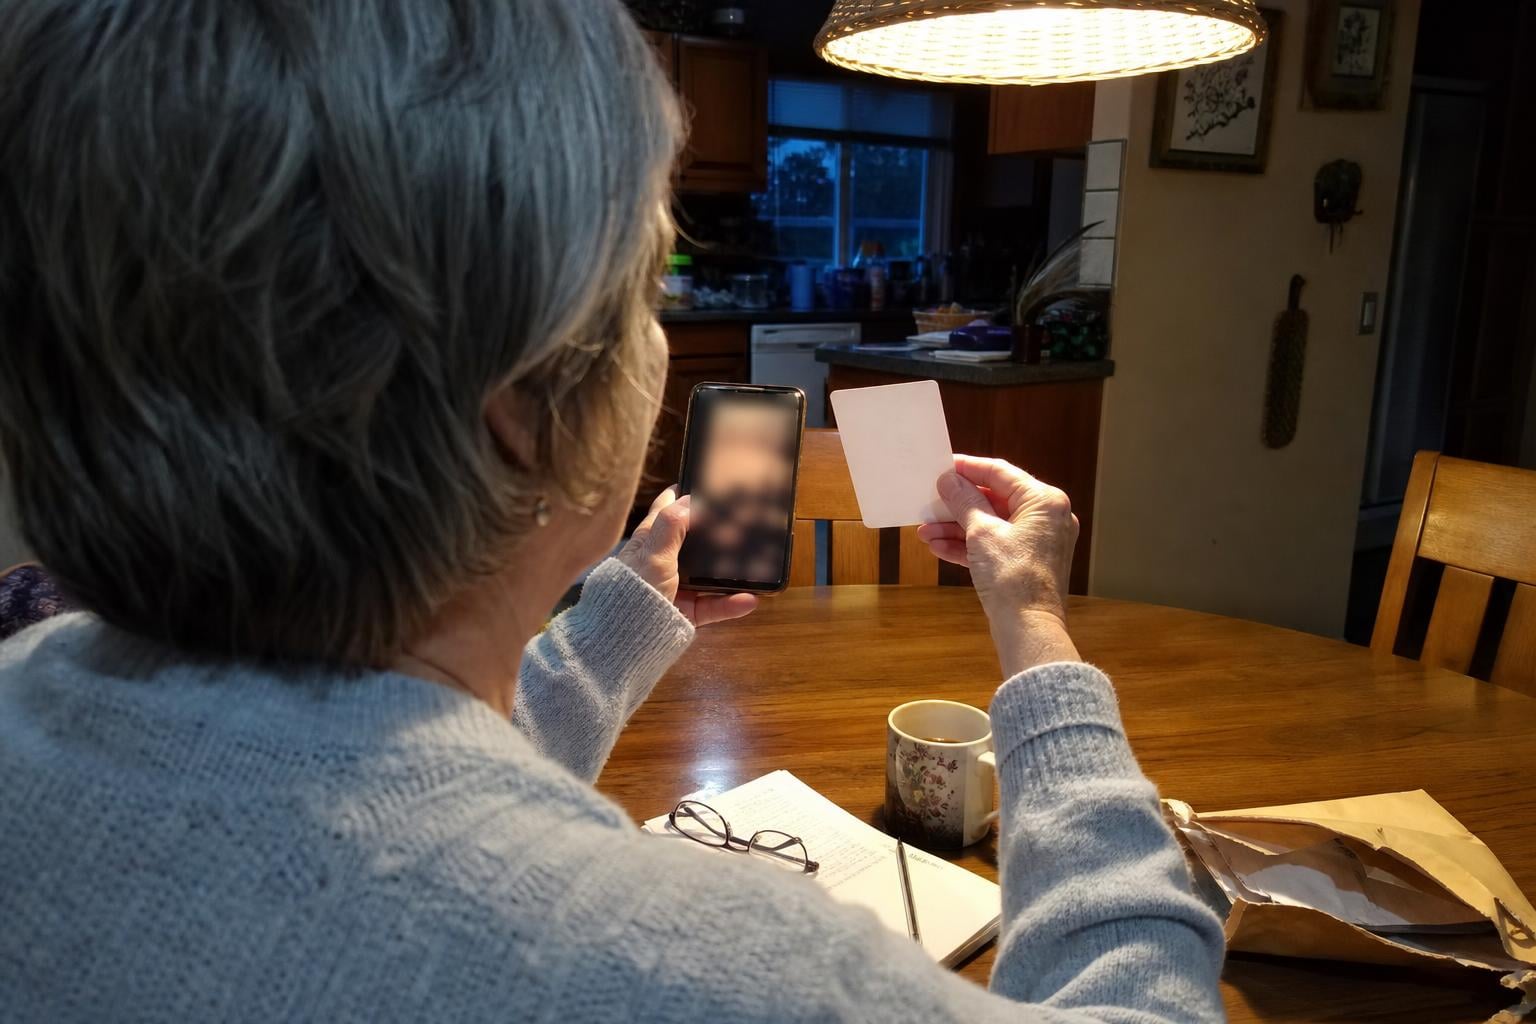
One question decides a restoration, asked with the original in your other hand: is it still them?
If the answer is no, say so. A coat's color gone wrong, a hairline moved: that is what a Touch-up is for. It is its own credit, a few come in every pack, and it is still the model at work: you point at exactly what drifted, and it redoes that part and only that part. And if a restoration fails outright, the credit it used comes back automatically.
05 · Step fourSave both, then print one
Keep two files forever: the raw scan and the restoration. Name them while you still remember who is in them (1962_kitchen_mom.jpg outlives IMG_4471.jpg by a generation), keep copies in two places, and put the original print back in the dark: flat, in an acid-free box, away from attic heat.
Then print one. In an Epson survey of 11,000 people across Europe, 86 percent said they own photo albums they never open. A print at eye level gets looked at every day. A restoration prints sharp up to 8×10″; for anything larger, run it through an Enhancement first (a 2K upscale plus a clarity pass, one Enhancement credit per photo).
One last option, and it is genuinely optional: a restored photo can also become a five-second film, a blink, a small turn of the head. It uses 5 credits from the shared balance. Some families love it; some would rather the photo stay still.
06 · Why they fadeWhy old photos fade on a schedule
A color print from the 1950s through the 1980s is made of chemical dyes, and dyes break apart in light and heat whether or not anyone is watching. The University of Illinois preservation program says it flatly: a color print from before the mid-1980s "will invariably lose its image in time, even in dark storage."
In Henry Wilhelm's print-permanence testing, the consumer Kodak stock that many mid-century snapshots were printed on rated a display life of about twelve years. Whites turn cream, blues thin first, and the print drifts toward orange or pink. Black-and-white prints hold on far longer: their image is metallic silver, not dye, which is why a great-grandmother from 1912 often looks better today than a picnic from 1978.
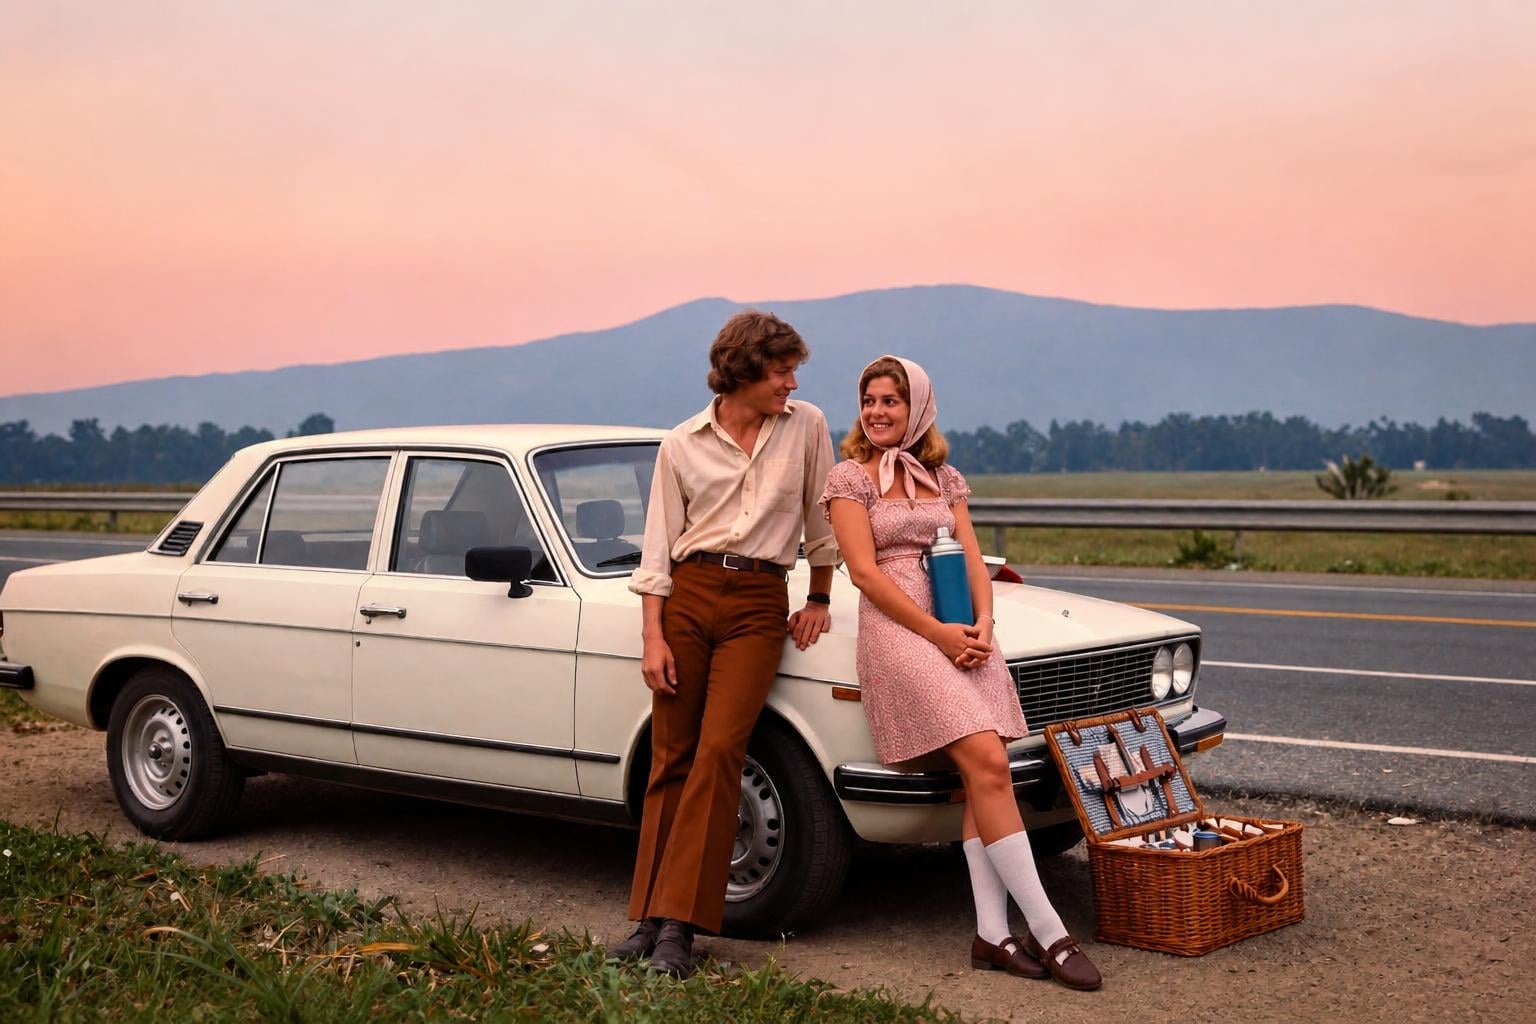
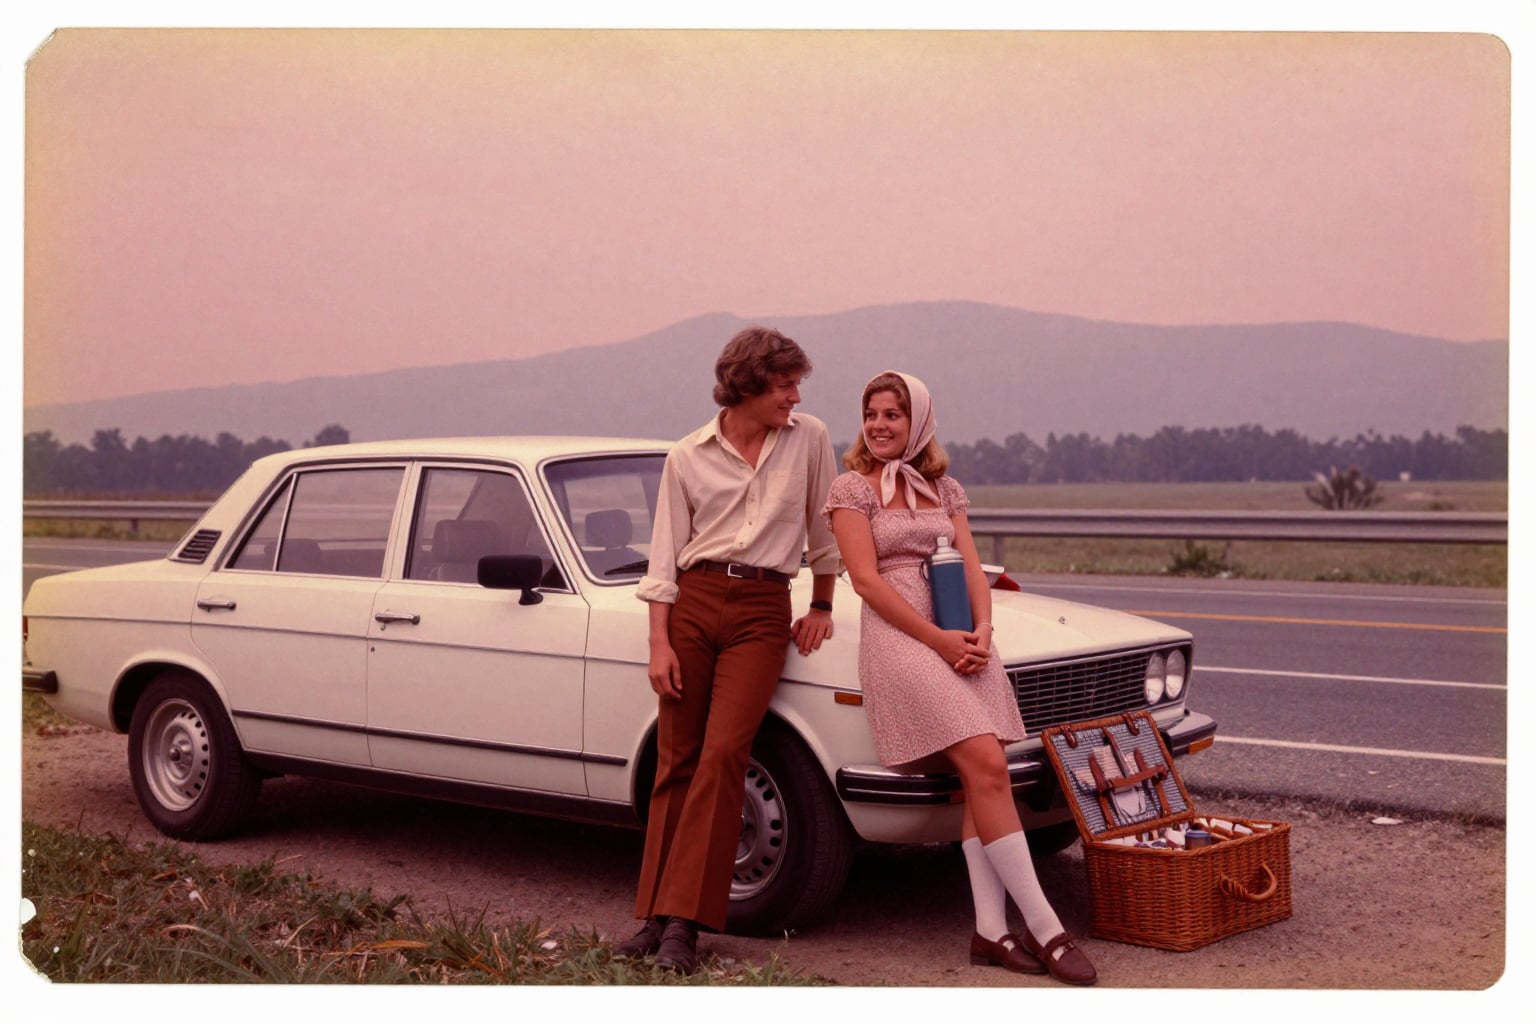
Where the photo has lived decides how far along it is:
- On display ages fastest. Light does the most damage; the framed ones and the fridge ones go first.
- Attic heat runs the chemistry at double speed, and the "magnetic" albums of the 1970s slowly glue their pages to the pictures.
- Damp basements invite mold, which eats the image layer itself.
- A dark, dry drawer is the safest place for a print. Even there, the dyes keep working.
So scan the rest of the box this month rather than this decade. A scan freezes each print exactly where it is today; everything after that can happen at leisure.
07 · The going rateWhat restoring old photos costs by hand
For a century, restoring a photo meant hiring a specialist: first with a brush and dyes, later with Photoshop. For a daguerreotype or a print of genuine historical value, hire a conservator and pay gladly. For the family shoebox, the price is the problem: a moderately damaged print typically runs $35 to $45 to restore by hand, heavy damage $100 to $350 and up, with turnarounds from a few days to six weeks.
One shoebox holds roughly 600 photos. At $35 apiece, that is $21,000: more than a lot of people paid for their car. This is why the shoeboxes stay shut: the price was set by the hour, and families have hundreds of photos and one budget.
Restoration software, ours among others, changed that: modern models read the film grain, the fall of light, the weave of a jacket, and repair damage by extending what is genuinely there. Our own numbers, plainly: about a minute per photo, the first 2 each day free as watermarked previews, and 75 credits for $39, once, at 52¢ / credit. One restoration uses one credit. The same balance also works for enhancement, touch-ups and animation. Credits never expire.
That is the method. Scan it well, run the restoration, judge the face like the person who remembers it, save both files, print one. Begin with the photo that made you search for this page: upload the scan and see what is still in there.